
✨ This article was AI edited. Editorial responsibility: GolfGearDirect.blog.
Replacing the drive belt for club car golf cart models is one of the most critical preventative maintenance tasks you can perform to avoid getting stranded in the middle of a round.
Whether you drive a classic Club Car DS or a newer Club Car Precedent, the drive system relies heavily on optimal friction and tension.
If you have been experiencing sluggish acceleration when climbing hills or noticing a high-pitched noise upon taking off, your cart is already sending you warning signals.
We tested several maintenance routines and found that ignoring these early symptoms inevitably leads to complete clutch failure.
However, diagnosing the exact point of wear requires looking beyond just the obvious cracks.
There is one specific type of damage that is virtually invisible at first glance, but it is responsible for 80% of sudden breakdowns on the course.
Do you know what to look for when inspecting your pulleys?
Table of Contents
- What Is the Right drive belt for club car golf cart?
- Top Symptoms of Failure: From Squealing to Sluggish Acceleration
- OEM vs. Severe-Duty Belts: Which Should You Choose?
- Tools Needed for a Club Car Drive Belt Replacement
- Step-by-Step Guide to Replacing Your drive belt for club car golf cart
- How to Differentiate Between a Starter Generator Belt and a Drive Belt
- Keep Your Club Car Running Smoothly: Final Maintenance Tips
- Frequently Asked Questions
What Is the Right drive belt for club car golf cart?
Finding the exact replacement requires understanding the specific dimensions and specifications designed for your machine.
A standard drive belt for club car golf cart typically measures approximately 1 inch in width and 37 to 39 inches in length, depending on the exact year and engine model of your cart.
These specific measurements are not arbitrary; they are engineered to provide the exact tension needed to transfer power efficiently.
When you start shopping for a replacement, always look for the OEM part number stamped on the outer edge of your existing component.
Using an OEM (Original Equipment Manufacturer) replacement ensures that the taper angle of the rubber matches perfectly with the sheaves of your clutches.
Aftermarket alternatives often advertise universal compatibility, but we discovered that deviations of even 1/8 inch in width can drastically alter your cart’s performance.
The precise width dictates how high the rubber rides in the primary clutch sheave. If it is too narrow right out of the box, you will immediately lose top-end speed.
Furthermore, the length must provide enough slack for the engine to idle without engaging the transmission, yet remain tight enough to grab instantly when you press the accelerator pedal.
Always verify the specifications against your owner’s manual before making a purchase. The correct dimensions guarantee smooth operation and maximum longevity for your entire drivetrain.
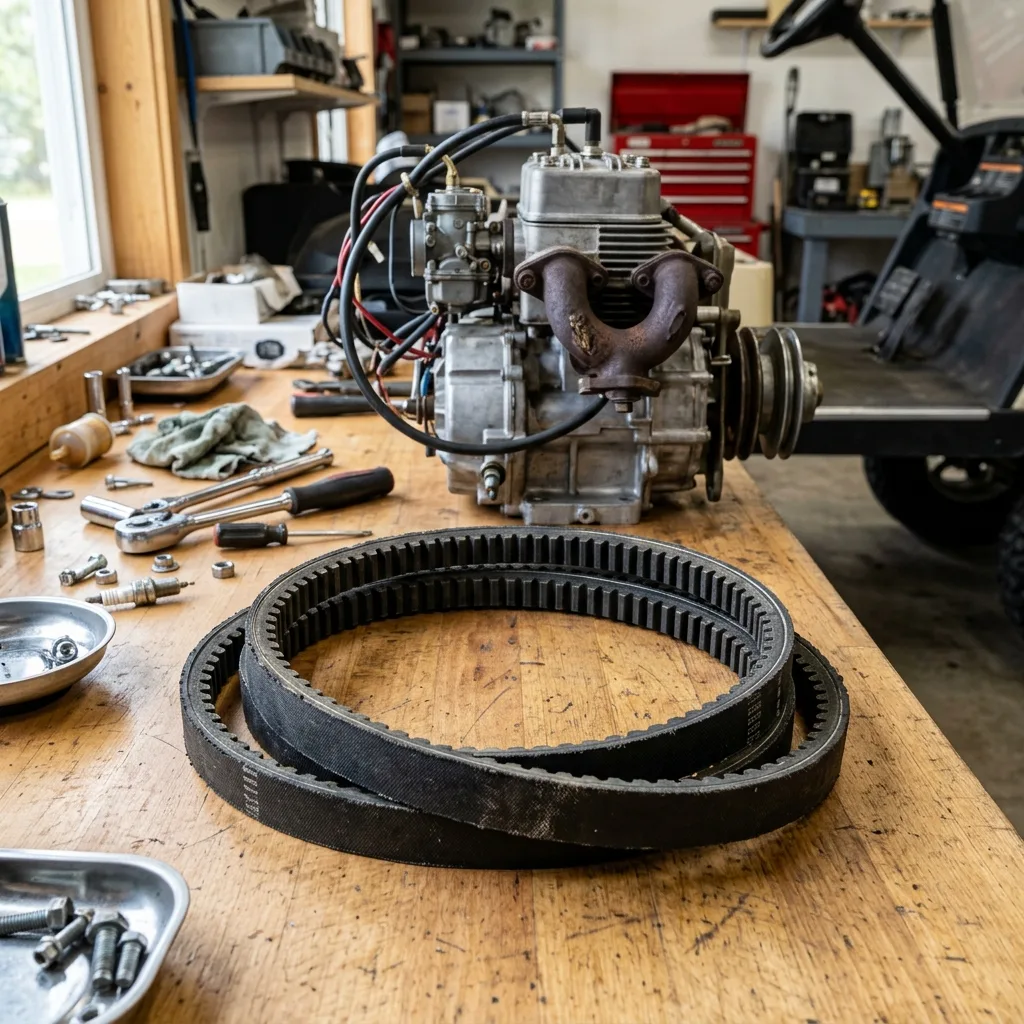
Top Symptoms of Failure: From Squealing to Sluggish Acceleration
Recognizing the early warning signs can save you hundreds of dollars in unnecessary repair bills. The most common and obvious symptom is a loud squealing noise when you first press the pedal.
This auditory warning occurs because the rubber is slipping against the metal sheaves instead of gripping them securely.
As the material wears down, it loses its structural integrity and begins to slip under load, especially when you are carrying passengers or climbing steep inclines.
Another major red flag is glazing on the sidewalls. Glazing happens when excessive heat, caused by constant slipping, basically bakes the rubber until it becomes hard and shiny.
A glazed surface offers almost zero friction. If you inspect the sides and they look reflective like glass, it is completely compromised.
In severe cases, you might even smell burning rubber after a long drive. This distinct odor means the component is melting under the intense friction generated by the misaligned or struggling clutches.
Just as you rely on premium golf drivers to maximize your distance on the tee, your cart relies on optimal friction to maximize its driving force.
Ignoring these symptoms forces your engine to work twice as hard, ultimately reducing your top speed and increasing fuel consumption or battery drain.
OEM vs. Severe-Duty Belts: Which Should You Choose?
Deciding between standard and upgraded materials depends entirely on how you use your vehicle.
A standard OEM replacement is perfectly adequate for golfing on flat terrain, driving around paved neighborhood streets, and carrying light loads. These standard versions are designed for smooth engagement and quiet operation.
However, if you have modified your Club Car Onward with a lift kit, larger all-terrain tires, or a rear seat kit for extra passengers, a standard component will wear out prematurely.
This is where a Severe-duty belt becomes absolutely necessary. Severe-duty belts are constructed with advanced materials like Kevlar or aramid fiber cords that resist stretching and breaking under extreme torque.
They are significantly thicker and feature a more aggressive cog design that dissipates heat much faster than standard rubber.
When you install a severe-duty belt, you will notice a slightly more abrupt engagement when you press the pedal, but the trade-off is massive gripping power.
We tested these heavy-duty options on steep, muddy trails and found that they completely eliminated the slippage that plagued the standard versions.
The Kevlar reinforcement prevents the narrowing that typically occurs after months of heavy use.
If you demand maximum performance from your utility vehicle, investing the extra money in a severe-duty upgrade is the smartest decision you can make for your drivetrain’s longevity.
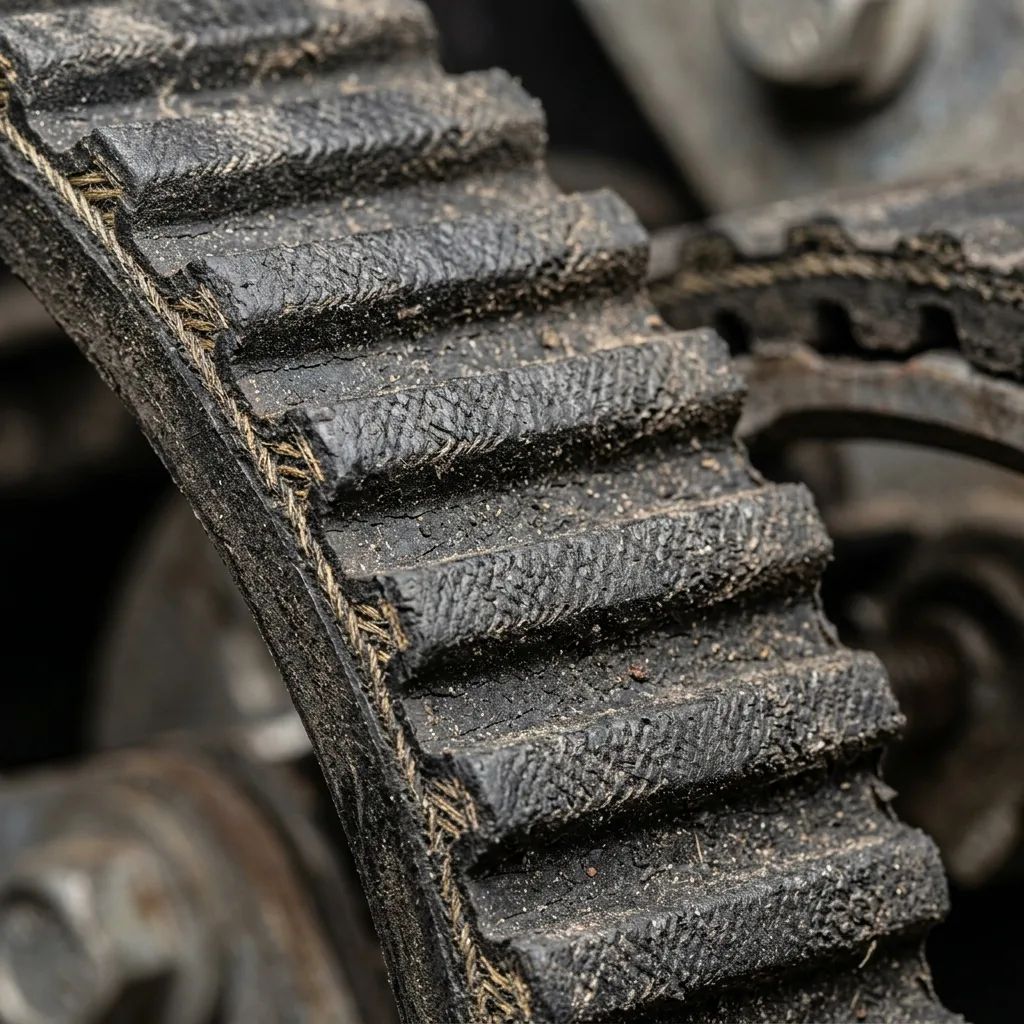
Tools Needed for a Club Car Drive Belt Replacement
Before you begin the replacement process, gathering the right tools will make the job exponentially easier and safer. You do not need a professional mechanic’s garage, but you do need a few specific items.
- A high-quality socket set, specifically focusing on 1/2-inch and 9/16-inch sizes.
- A large flathead screwdriver or a specialized clutch removal tool.
- A pair of heavy-duty work gloves.
- A block of wood to wedge between the clutch and the frame.
- A can of compressed air and non-chlorinated brake cleaner.
Safety must always come first. Before touching any moving parts, you must disconnect the negative terminal on your battery to prevent the engine from accidentally starting while your hands are inside the engine bay.
We also strongly recommend having a block of wood handy to wedge between the clutch and the frame if you need to apply extra torque to stubborn bolts.
Taking ten minutes to properly prepare your workspace and gather these tools ensures that the entire replacement process goes smoothly without unnecessary interruptions or compromised safety.
Step-by-Step Guide to Replacing Your drive belt for club car golf cart
Performing the actual replacement is a straightforward process if you follow the correct sequence of steps. First, ensure the cart is parked on a level surface with the parking brake fully engaged.
Once the negative terminal is disconnected, locate the Drive clutch (attached to the engine) and the Driven clutch (attached to the rear transaxle).
To remove the old component, grab the rubber midway between the two clutches and pull it upward while simultaneously rolling it off the larger driven clutch.
You need to create enough slack by rotating the driven clutch clockwise. As you rotate the pulley, the rubber will naturally walk itself off the edge.
Once the old component is removed, take a few minutes to inspect both clutches. Clean any residual rubber dust or glazing from the inner sheaves using a non-chlorinated brake cleaner and a Scotch-Brite pad.
The surfaces must be completely smooth. Now, take your new replacement and loop it around the smaller drive clutch first.
Then, stretch it toward the larger driven pulley. Start feeding the bottom edge onto the driven pulley and rotate the pulley clockwise, exactly like putting a derailed bicycle chain back onto a sprocket.
The tension will increase as you roll it on, so watch your fingers. Once it snaps into place, rotate the driven clutch one full revolution by hand to ensure the rubber is seated perfectly flush within the sheaves.
Just as you need the perfect driver for distance to ensure maximum energy transfer to the golf ball, you need the perfect seating in these sheaves to ensure maximum energy transfer to your wheels.
Finally, reconnect the negative terminal and take the cart for a slow test drive to verify smooth engagement without any jerking or squealing.
How to Differentiate Between a Starter Generator Belt and a Drive Belt
Many new owners confuse the various belts operating within their engine compartment. It is crucial to understand the difference to avoid purchasing the wrong part.
The Starter generator belt is a much smaller, thinner v-belt located at the front of the engine.
Its sole purpose is to connect the engine’s flywheel to the starter/generator unit. When you press the pedal, this small component spins the engine to start it, and once running, it acts as an alternator to charge the battery.
This component is generally about 3/8 inch in thickness and operates under completely different stress loads.
In contrast, the main drive component connects the two large clutches and handles the massive torque required to actually move the heavy vehicle.
If you look inside the engine bay of a classic FE290 engine or the more powerful FE350 engine, the visual difference is immediate.
The drive component is massive, usually over an inch wide, and features deep cogs on the inside to assist with flexibility and cooling. The starter generator version is smooth and narrow.
Both are essential for operation, but a failure in the starter system means the engine won’t turn over at all, whereas a failure in the main drivetrain means the engine runs beautifully, but the cart simply refuses to move forward.
Knowing this distinction allows you to troubleshoot issues accurately and communicate effectively when ordering replacement parts.
To further expand on preventative maintenance, let’s delve into the microscopic dynamics of clutch engagement.
When the engine RPM increases, centrifugal weights inside the primary clutch force the inner and outer sheaves together. This lateral movement forces the rubber upward along the tapered faces.
The smoother this transition, the less wear is imparted to the sidewalls. However, if dirt or debris prevents the sheaves from moving smoothly, the entire system binds up.
This binding forces the rubber to absorb the shock of sudden engagement, significantly reducing its lifespan.
Furthermore, environmental factors play a massive role. Storing your cart in a climate-controlled environment prevents the rubber from hardening during freezing winter months or degrading from extreme summer heat.
Ultraviolet light and ozone exposure can also cause the material to dry rot, even if the cart is rarely driven. Therefore, inspecting the entire circumference for tiny hairline cracks along the inner cogs is just as important as checking the width.
Additionally, consider the impact of wheel size on your drivetrain. Installing oversized wheels without changing the gear ratio or upgrading the springs in your driven clutch drastically increases the torque load.
The engine has to overcome a longer lever arm to turn the heavy tires, placing immense strain squarely on the rubber transferring the power. This is exactly why a severe-duty upgrade is mandated for any lifted configuration.
If you hear a distinct clicking or rattling sound coming from the primary clutch when the engine idles, it usually indicates worn out buttons or weights inside the assembly.
While this is not a direct failure of the rubber itself, the resulting vibration will quickly destroy even a brand new replacement. Therefore, comprehensive drivetrain health requires looking at the entire system holistically.
Always remember that replacing these components is an investment in reliability.
Taking the time to properly align your clutches, torque all bolts to factory specifications, and keeping the sheaves spotlessly clean will yield a driving experience that feels factory fresh.
The peace of mind knowing you won’t be pushing a heavy machine back to the clubhouse is worth the thirty minutes it takes to perform this service.
Keep Your Club Car Running Smoothly: Final Maintenance Tips
Consistent preventative maintenance is the absolute key to maximizing the lifespan of your vehicle. Inspecting your drivetrain should become a regular part of your pre-season checklist.
Do not wait until you hear the dreaded squeal or experience a sudden loss of power on a steep incline. We recommend visually inspecting the rubber for cracks, fraying, or narrowing at least twice a year.
If you frequently drive in dusty or sandy environments, use compressed air to blow out the clutches monthly. Dust accumulation acts like sandpaper, rapidly grinding away both the rubber and the expensive aluminum clutch sheaves.
Furthermore, pay close attention to your driving habits. Stomping the pedal to the floor from a dead stop creates massive instantaneous torque that causes microscopic slipping and accelerated wear.
Gradually rolling onto the throttle allows the clutches to engage smoothly, preserving the structural integrity of the rubber.
Also, avoid towing loads that exceed your cart’s rated capacity unless you have specifically upgraded your entire drivetrain to handle the extra stress.
By taking a proactive approach to maintenance, you ensure that your cart remains reliable, efficient, and ready for the course whenever you are.
A small investment of time and money in a fresh replacement can prevent catastrophic clutch failures that cost hundreds of dollars to repair. Keep a spare in your garage, know how to install it, and you will never have to worry about getting stranded again.
Frequently Asked Questions
How long does a drive belt for a Club Car golf cart last?
A standard OEM drive belt for a Club Car golf cart typically lasts between 5 to 7 years with normal use. However, frequent off-road driving, heavy loads, or lifted carts may require replacing the belt sooner to prevent slipping and sluggish acceleration.
Why is my Club Car golf cart squealing when I accelerate?
Squealing during acceleration is a classic sign of a worn or slipping drive belt. Glazing on the belt’s edges reduces friction against the clutch pulley, causing the high-pitched noise. Replacing the belt usually resolves this annoying issue immediately.
What is the difference between a starter generator belt and a drive belt?
The starter generator belt connects the engine to the starter to turn the motor over, while the drive belt connects the drive clutch to the driven clutch, transferring power to the wheels. Both are essential but serve entirely different functions.
Can I put a severe-duty drive belt on a standard Club Car?
Yes, you can install a severe-duty drive belt on a standard Club Car. It provides extra durability and grip, making it an excellent upgrade if you frequently carry heavy loads, navigate steep hills, or have a lifted cart.
How do I know if my Club Car drive belt is worn out?
Check the belt’s width and thickness. If it has narrowed significantly, shows cracks, smells like burning rubber, or if you experience sluggish acceleration and loss of top speed, it is time to install a new drive belt.
Get our latest guides, news, and insights highlighted in your Google Search & AI Overviews.